Enable managed imports
Uploads are optional and disabled in a normal server configuration. The local tutorial enables the importer and stores managed files in its persistent Docker volume. For your own deployment, configure the importer paths and limits using configuration.
Inspect the file
- Choose Upload a file in the workspace guide, or open Imports → New import.
- Set Import name to
sample-places. - Select the neoserver checkout’s
testing/tutorial/places.geojsonin Dataset or archive. - Choose Upload and inspect and wait for the import plan.
Inspection identifies the dataset’s layers and fields. It does not publish the dataset yet.
Validate the plan
Choose the source layer, set an unused public identifier such as uploaded-places, and leave public access off. Review the target store and field mappings, then choose Validate plan.
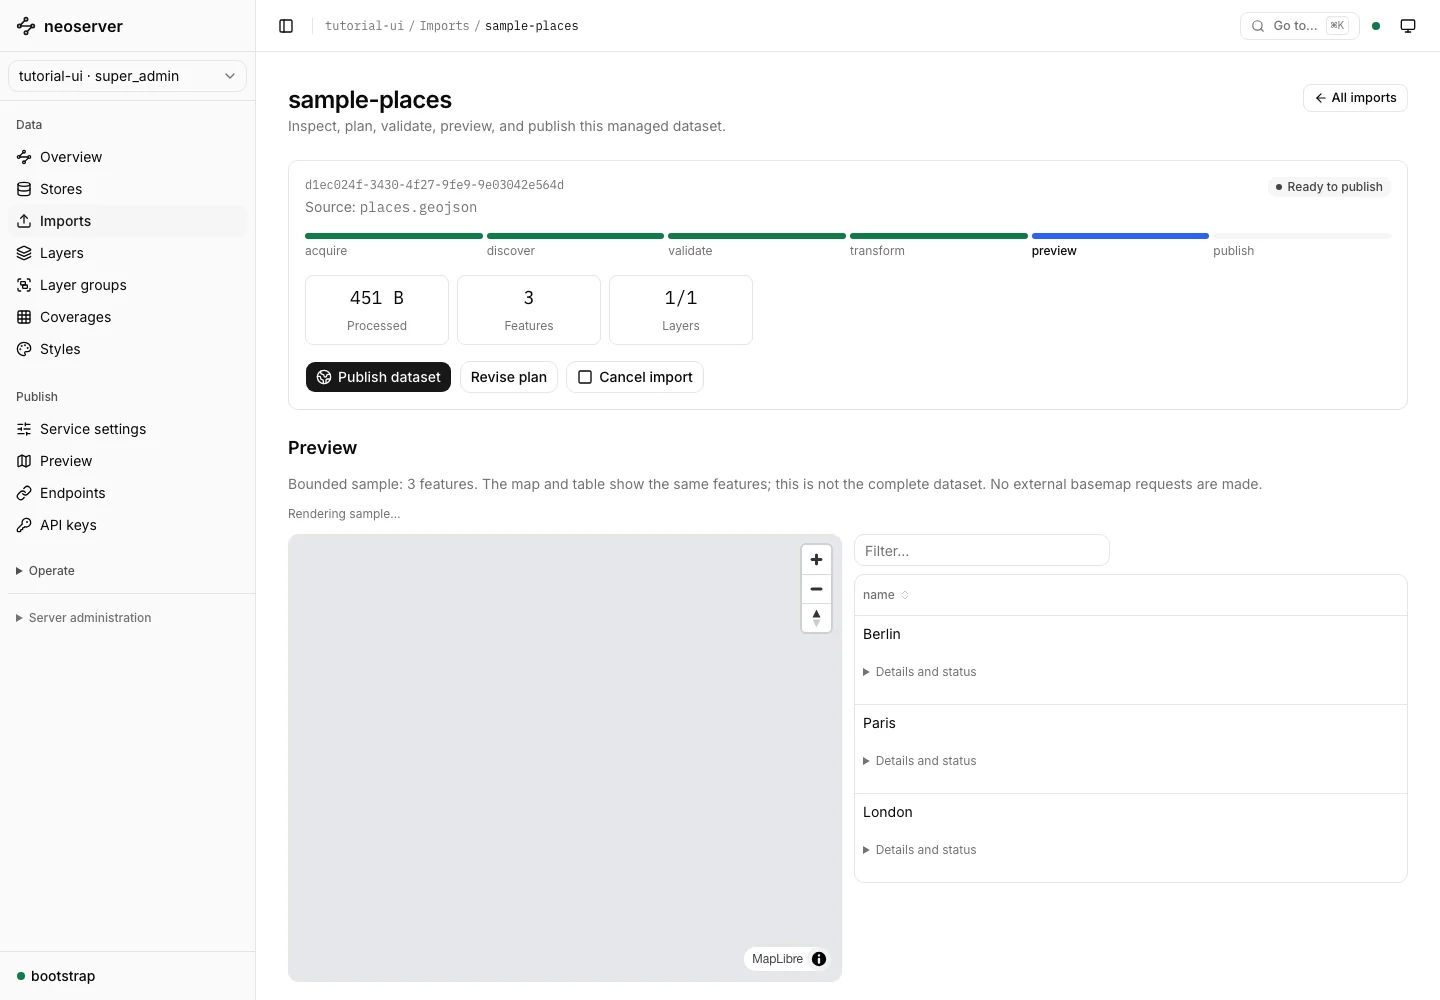
If validation fails, read the job events and error details, correct the plan or file, and retry. A failed import is not a published layer. Changing an already validated plan requires validation again.
Publish and verify
Choose Publish dataset. Wait for the operation to finish, then follow View published layers, Preview on map, or Connection examples. Confirm that the new public identifier appears in the catalog.
Managed files must survive restarts alongside the catalog that references them. Follow the persistent-state guidance for backups and upgrades.
URL and server-path imports follow the configured path and remote-source policy. They do not grant unrestricted access to the server’s filesystem or internal network.