The open source geospatial server
Geospatial data,
published your way.
Publish maps, features, and tiles from your data. Open standards, isolated workspaces, and a console built in.
Bring the data
you already have.
One place to publish.
Room for every project.
From a local dataset to a shared geospatial service. Manage the details in the browser, or automate them through the API.
A console that gets you there.
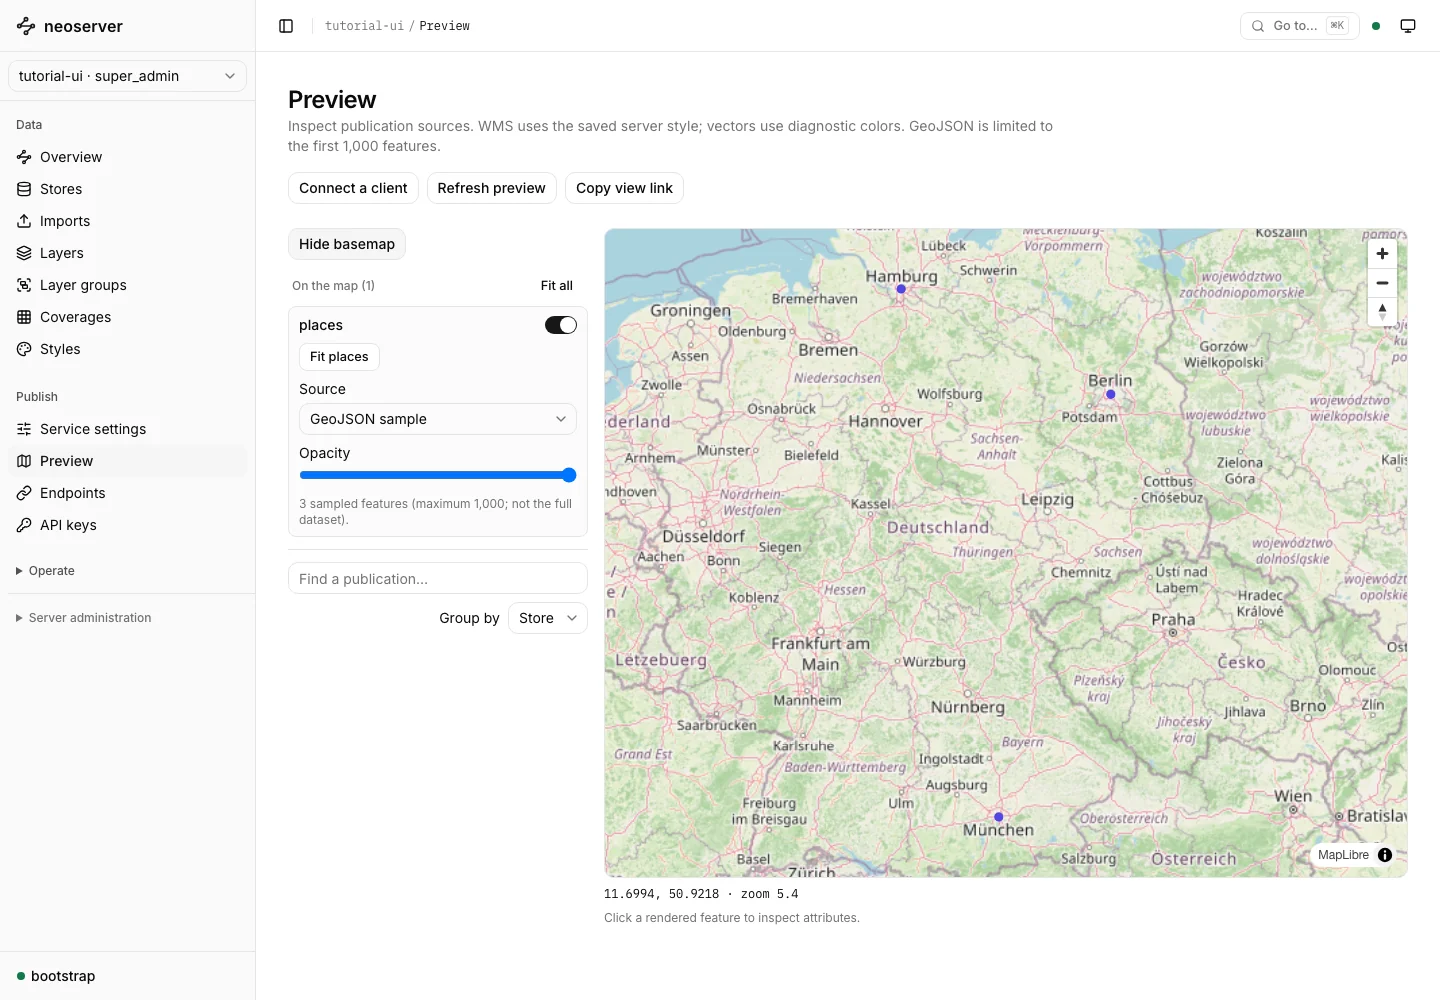
Create a workspace, connect a store, and publish your first layer. Preview the result without leaving neoserver.
Meet the console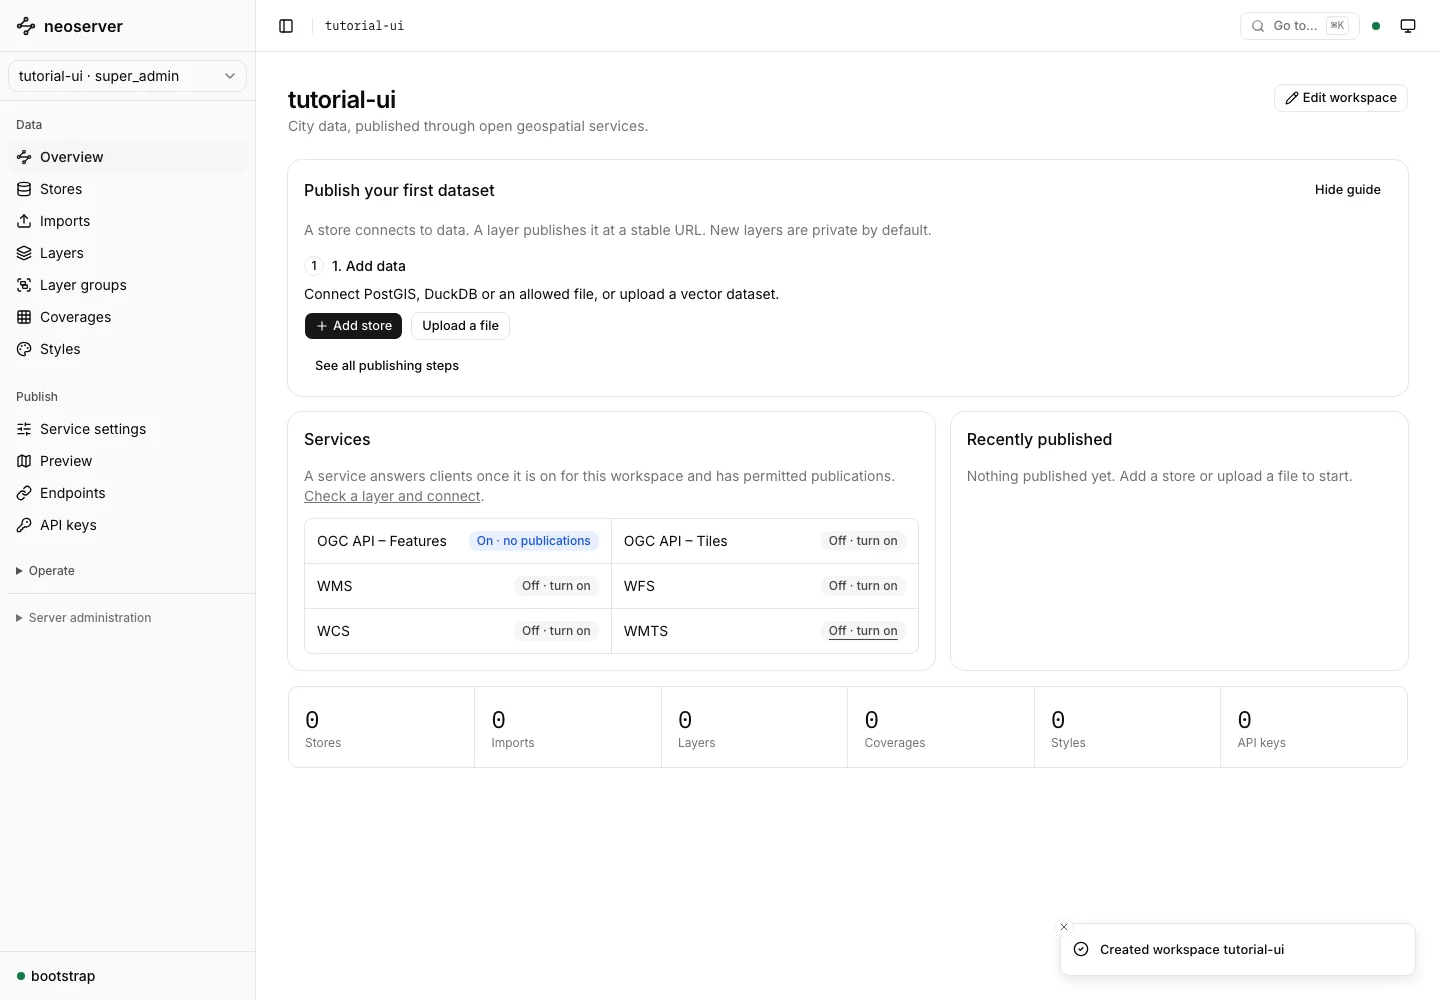
Your data, where it belongs
Connect PostGIS, DuckDB, files, and remote datasets. Feature data stays in its configured sources.
Explore data sourcesA workspace for every project
Keep connections, layers, styles, credentials, and service settings separated by workspace.
Understand workspacesAccess on your terms
Use scoped API keys, OIDC, workspace roles, and layer-level access controls.
Manage accessBuilt to operate
Tune resource limits, seed persistent tile caches, and export telemetry from your own infrastructure.
Deploy neoserverSpeak the same language
Open standards.
More ways to connect.
Serve the maps, features, coverages, and tiles your clients understand. Use QGIS, build a web map, or query an endpoint directly.
Explore conformance results| Service | What it delivers | Documentation |
|---|---|---|
| OGC API Features | Features, CRS, CQL2 filters, and queryables | ↗ |
| WMS 1.3.0 | Maps, styles, legends, and feature information | ↗ |
| WFS 2.0 | Feature queries, transactions, and locking | ↗ |
| WCS 2.1 / 2.0.1 | Raster coverages, formats, and subsetting | ↗ |
| OGC API Tiles | Vector and raster tiles, TileJSON, and discovery | ↗ |
| WMTS 1.0 | Tile matrix sets and cached map tiles | ↗ |
WFS supports 2.0.0 and 2.0.2; writes require PostGIS. Optional capabilities depend on service settings. Published test evidence is not OGC product certification.
From your first connection
to your first map.
A practical path through the console, with illustrated guides at every step.
Create a workspace
Give your project a home, with its own data catalogue and service settings.
Create your workspace →Connect your data
Test a PostGIS connection, open a file source, or upload a dataset.
Add a data source →Publish a layer
Discover the available data, choose a public identifier, and preview the result.
Publish your first layer →Connect a client
Set access, create a scoped key, and connect with QGIS or your application.
Make the connection →
Start on your machine.
Run on your terms.
Written in Go. Distributed as a Docker image. Follow the browser-first tutorial or take the API route.
DOCKER / LINUX AMD64
docker pull tobilg/neoserver:0.1.2

# Create a persistent catalog and save its key.
# Follow the guide for initialization and startup.
Released images include the console and native geospatial libraries. The tutorial covers initialization, sample data, and your first sign-in.